When configuring XenDesktop 7 to connect to vCenter, you may receive the error displayed in the screenshot below.
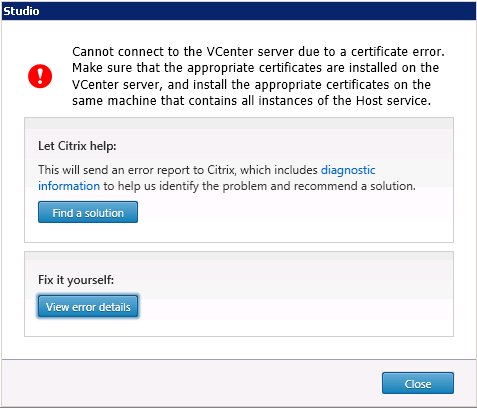
There are a few different methods to resolve or workaround the issue. Ideally, you should replace the vCenter certificate with a trusted certificate. We’ll discuss that method in a future blog post. You can also visit Derek Seaman’s blog for some excellent documentation.
As a workaround, you can perform the following on each of your XenDesktop 7 controllers.
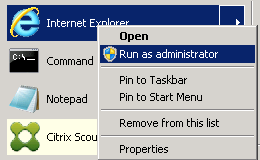
- Open Internet Explorer: Right-click and Run as Administrator
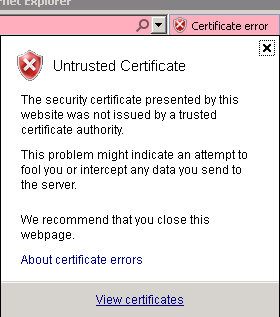
- Enter the https://URL for your vCenter server an select Continue to this website

- Click the Certificate Error message and select View Certificates
- Select the Details tab and select Copy to File…

- Click Next
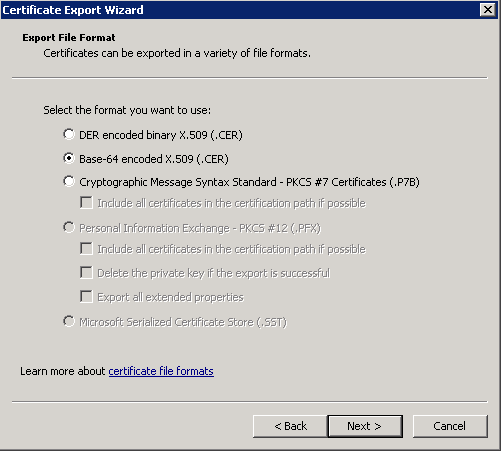
- Select Base-64 encoded X.509 and click Next
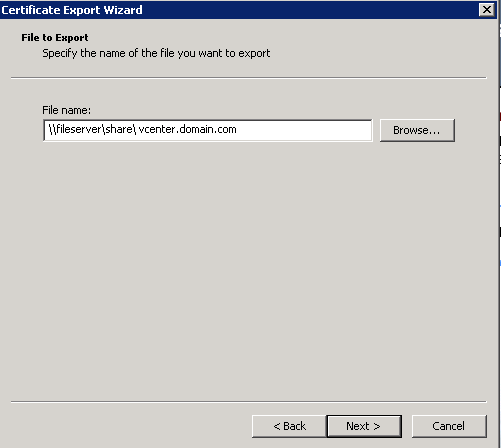
- Save the certificate to a file server you can get to from each XenDesktop 7 controller, click Next
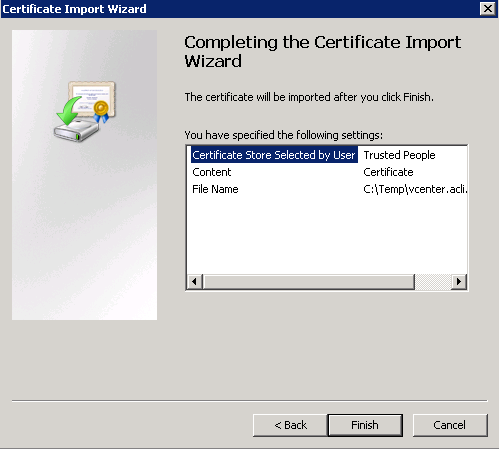
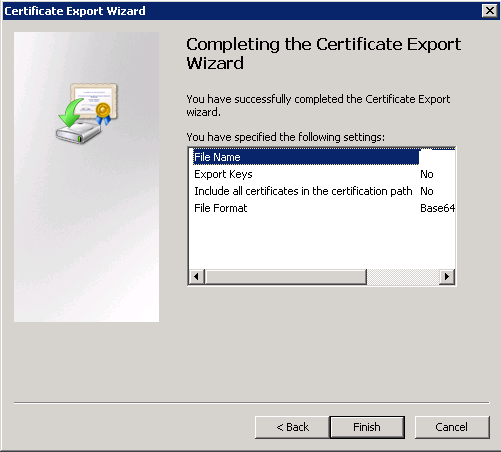
- Click Finish
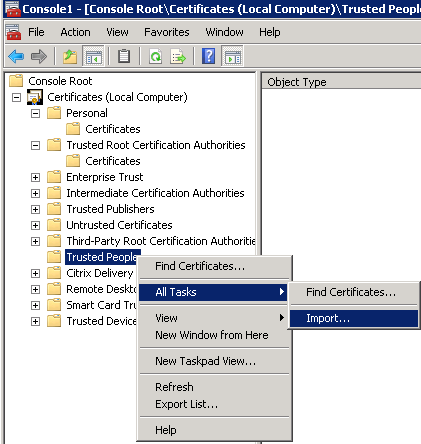
- On each XenDesktop 7 controller, open the MMC snap-in for Certificates (Local Computer)
- Right-click Trusted People, select All Tasks and Import…
- Browse to the certificate created in Step 7 and click Next
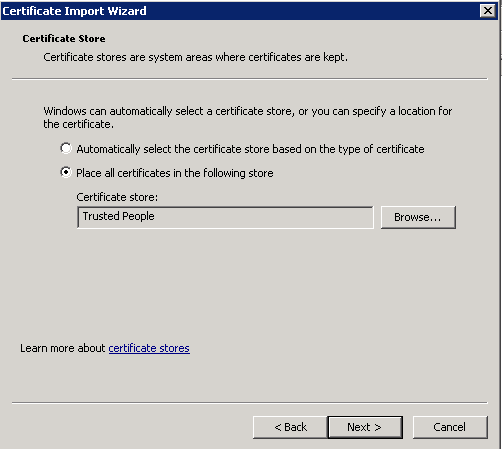
- Click Finish. Return to XenDesktop Studio and connect to vCenter