- Log into one of the Provisioning Server 7.1 hosts
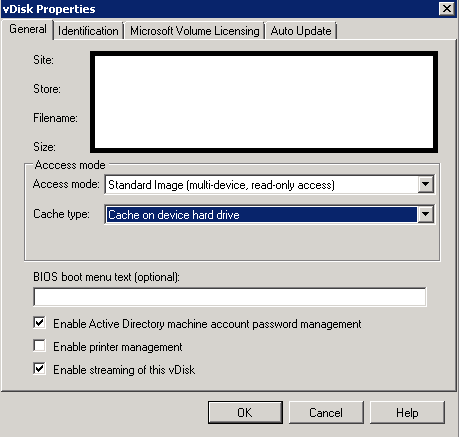
- Change the newly created vDisk from Private mode to Standard and select the preferred method for Cache type
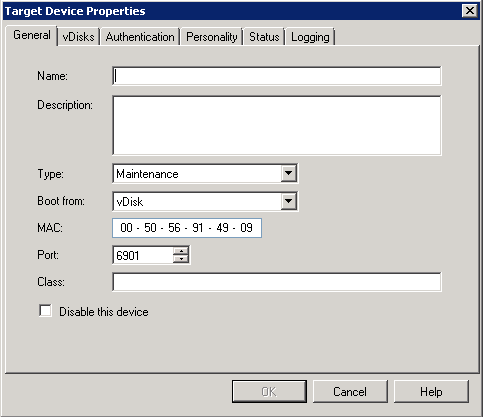
- Select the target device created earlier and modify the type to Maintenance and change to boot from vDisk
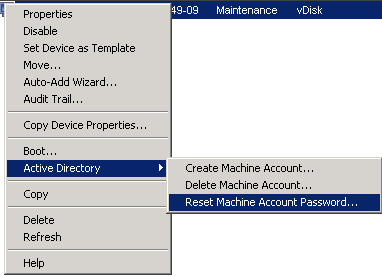
- Right-click the target device and select Active Directory – Reset Machine Account Password…
- Select the OU where the AD object exists and click Reset Account and Close
![]()
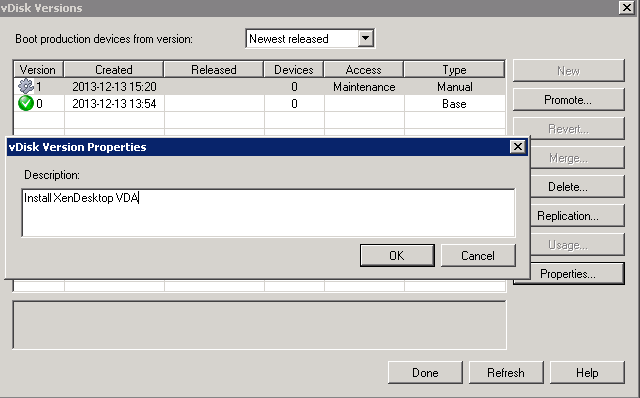
- Add a vDisk version to the vDisk and add a property/description
- Boot the VM
- Log in and install XenDesktop 7.1 Delivery Agent
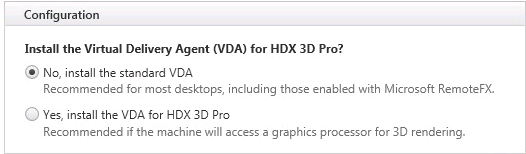
- Select the appropriate Virtual Delivery Agent installation based on the OS type (Desktop or Server)
- Select Enable Remote PC Access
- Select the appropriate Virtual Delivery Agent installation based on the OS type (Desktop or Server)

- Select the appropriate version of the VDA
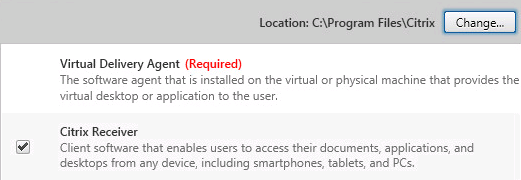
- Select the Citrix Receiver if you plan on delivering hosted apps to the VMs created from this image
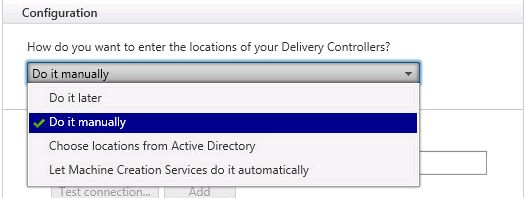
- Add the Delivery Controller(s)
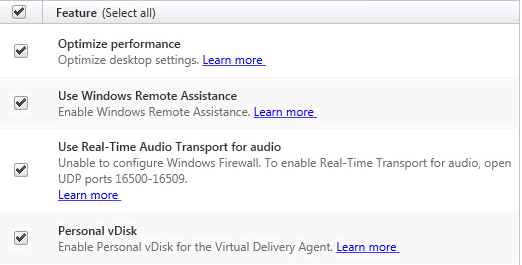
- Select Personal vDisk if you are allowing some users to install their own applications
NOTE: This option is only available for Windows Desktop OS VDAs
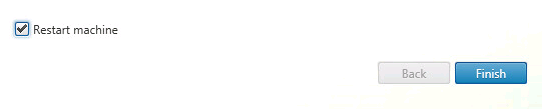
- Accept remaining defaults and click Finish when complete and reboot
- Once the VM has rebooted, shut it down (update the Personal vDisk inventory if prompted)
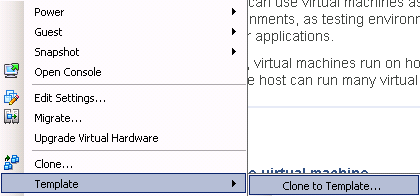
- Create a VMware template from the VM used to create the image
NOTE: This step will ensure all target devices you create from this template will have identical virtual hardware. This should prevent BSOD and any potential performance issues
- Right-click the VM and select Clone to Template…
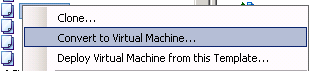
- Convert the newly created template back to a Virtual Machine
- Make any necessary modifications to the VM to match your preferred target device configurations
NOTE: You can remove local disks if you are using local disk write cache. The XenDesktop Wizard in Provisioning Server 7.1 will perform this task as part of the target device creation.

- Right-click the modified VM and convert back to a template to prepare for Provisioning Server 7.1 target device creation

- Log into the Provisioning Server 7.1 console and perform the following:
- Promote the vDisk version to Production

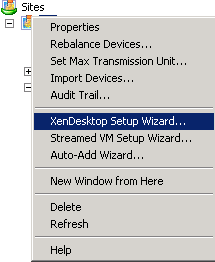
- Right-click on the site and select XenDesktop Setup Wizard…
NOTE: If it hasn’t been done already, configure the XenDesktop 7.1 farm to point to the vCenter server and specify a datastore for write cache and personal vDisks
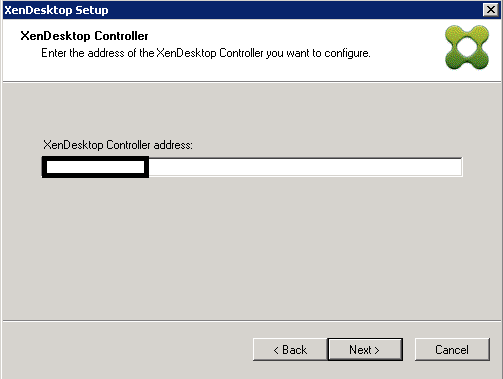
- Enter the XenDesktop Controller address and click Next
- When prompted, enter the XenDesktop Host Resources username and password

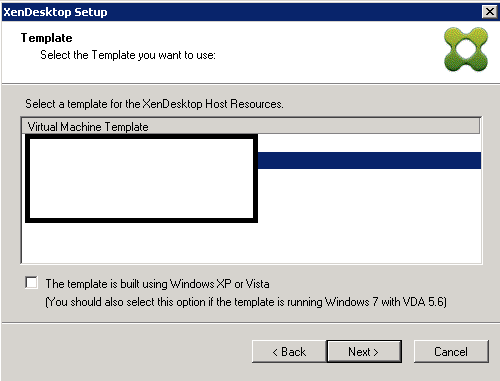
- Select the template created in step 9, click Next
- Select the vDisk, click Next
- Create a new catalog or use an existing catalog, click Next
- Select the appropriate OS type, click Next
- Select a random or static desktop, click Next
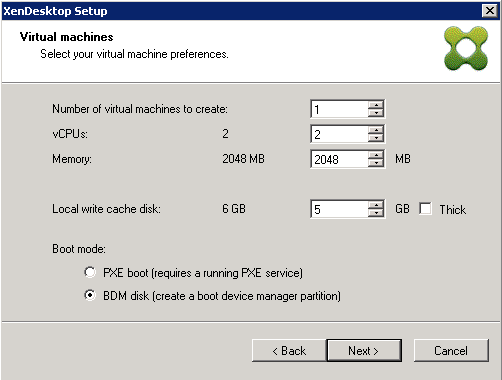
- Modify the virtual machine preferences as necessary, click Next
NOTE: Since we created the PVS 7.1 target devices on the same subnet as the PVS 6.1 target devices, we used a BDM disk which provides the Provisioning Server host information to the target device at boot. It creates an 8 MB disk local to each VM and eliminates the PXE service requirement on the subnet. This also eliminates the need to mount a boot ISO to each VM.
- Select Create new accounts, click Next
- Specify the AD OU container and provide an account naming scheme, click Next
- Click Finish
After the target devices were created, we checked XenDesktop and vCenter to confirm the devices came online, registered, and were configured correctly. We then repeated these steps for each of the images we needed to convert. If you have any questions about the process or run into issues while working through your project, please feel free to reach out to us via our Contact page.